
How to Create & Publish a Shoppable Video Journey
Follow these 5 steps to create your first video widget, customize it, and get it live on your store.
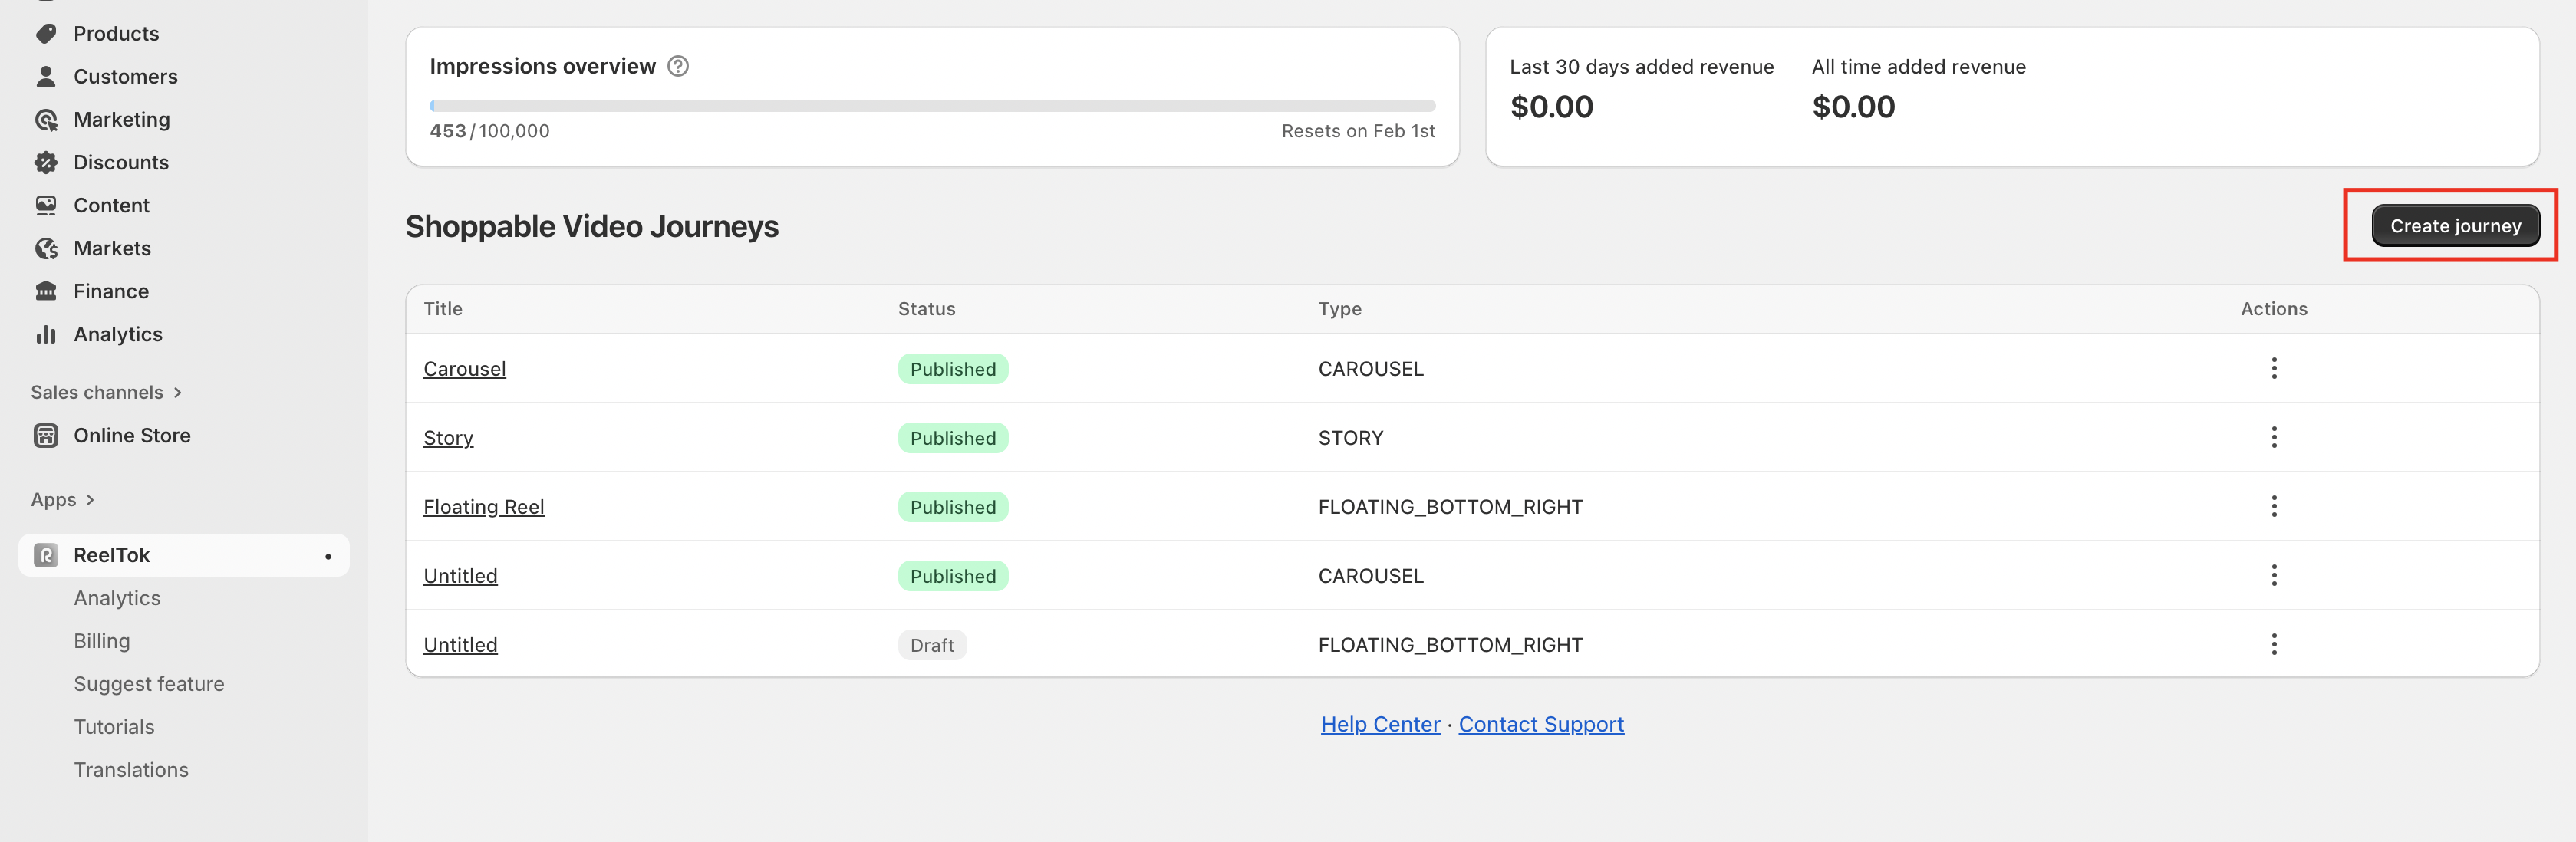
Step 1: Start a New Journey
From your ReelTok dashboard, click the black Create journey button located in the top right corner of the screen.
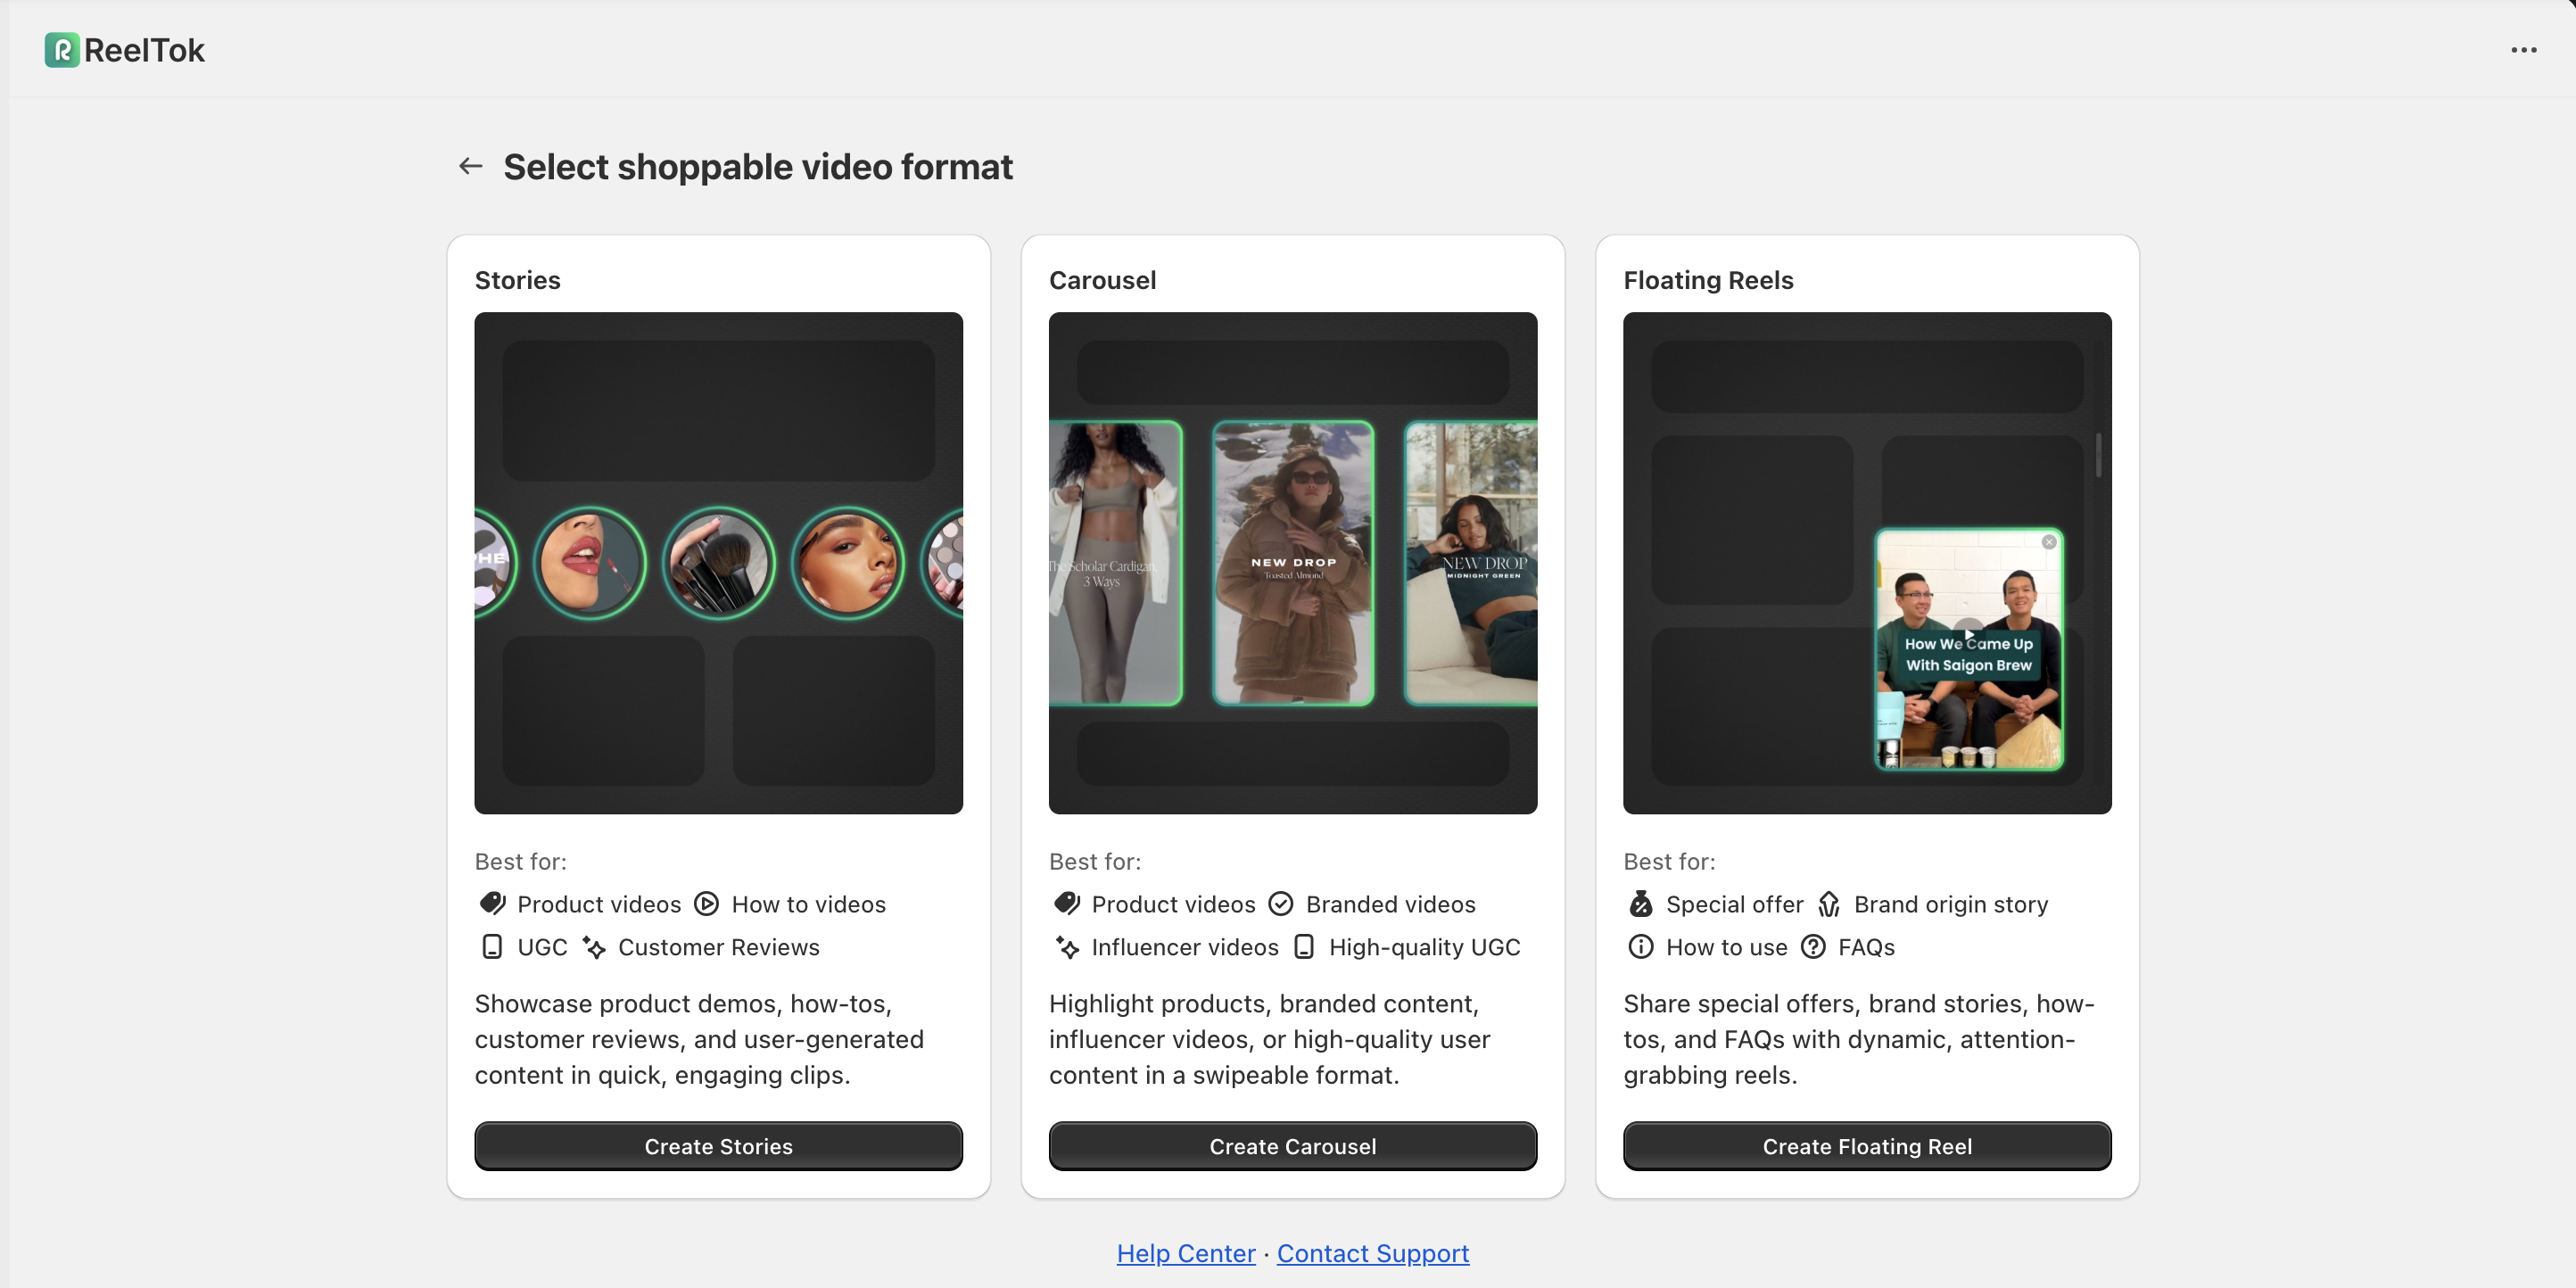
Step 2: Choose Your Format
You will see three options for how your video should look:
Stories: Circular bubbles (best for mobile).
Carousel: A slider of video cards.
Floating Reels: A sticky widget for announcements. Click the Create button under the format you want to use.
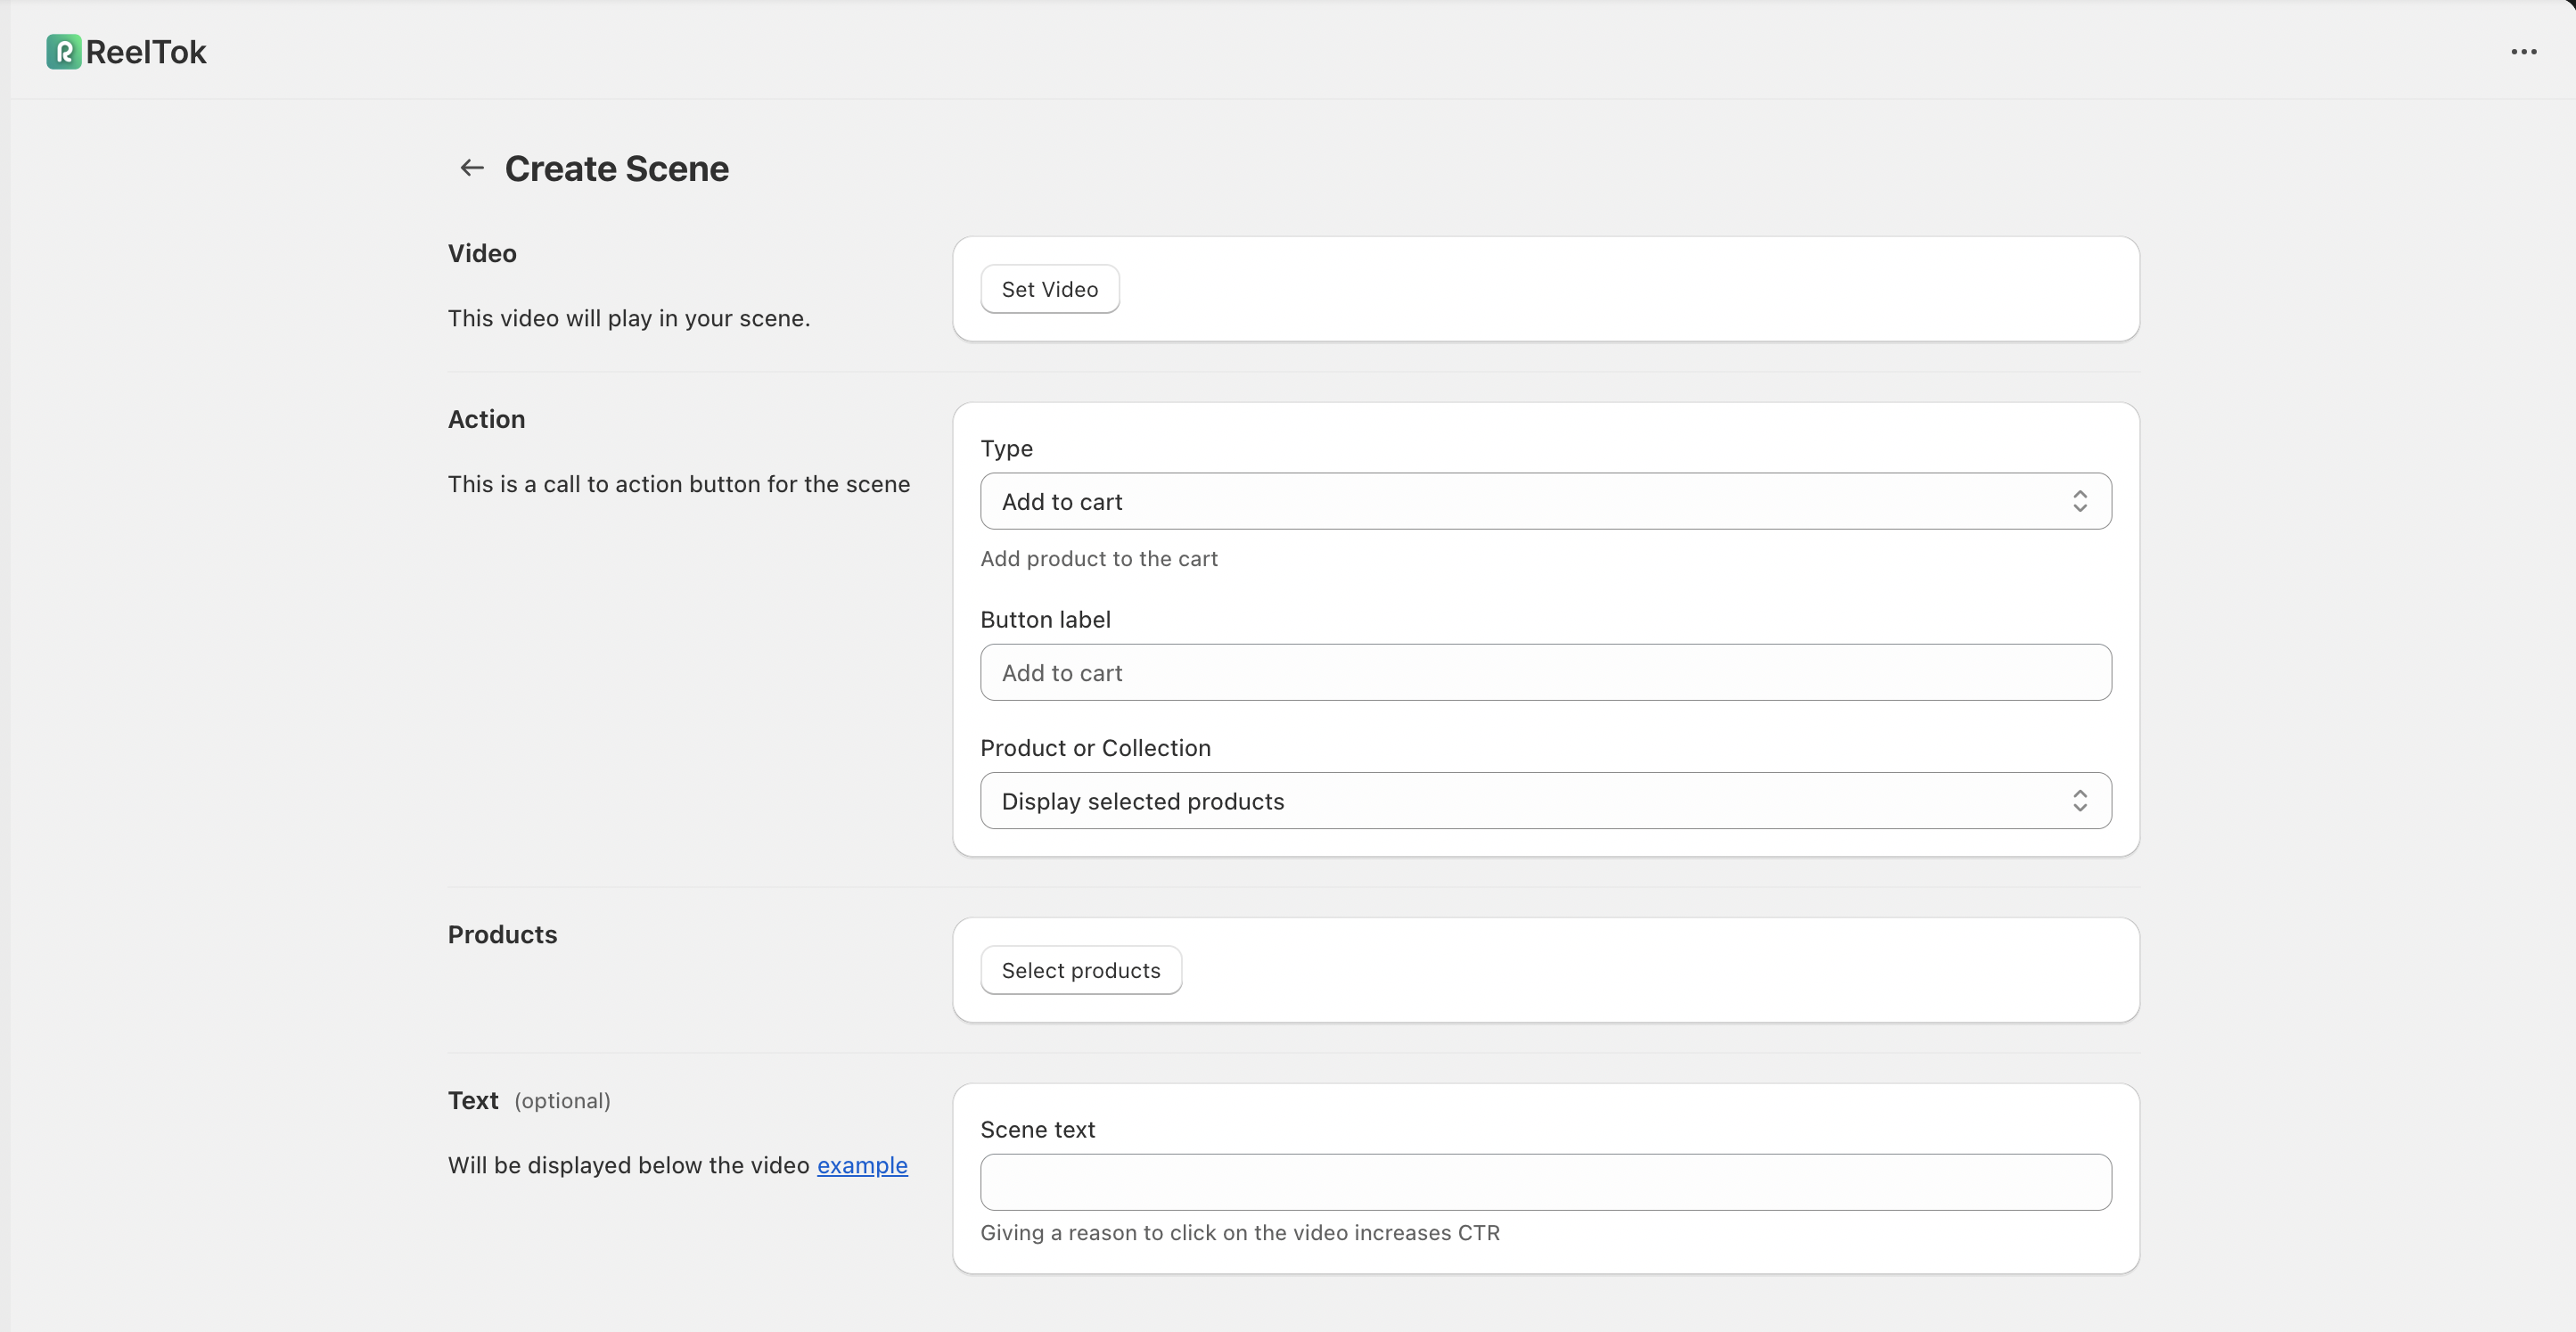
Step 3: Upload Video & Add Products
Now you will build your "Scene" (the individual video content):
Video: Click Set Video to upload your MP4 file.
Action: Under the "Action" section, select "Add to cart" so customers can buy instantly.
Product: Click the dropdown to search for and select the Product or Collection you want to link to this video.
Save: Once filled out, click the Save button to confirm your scene.
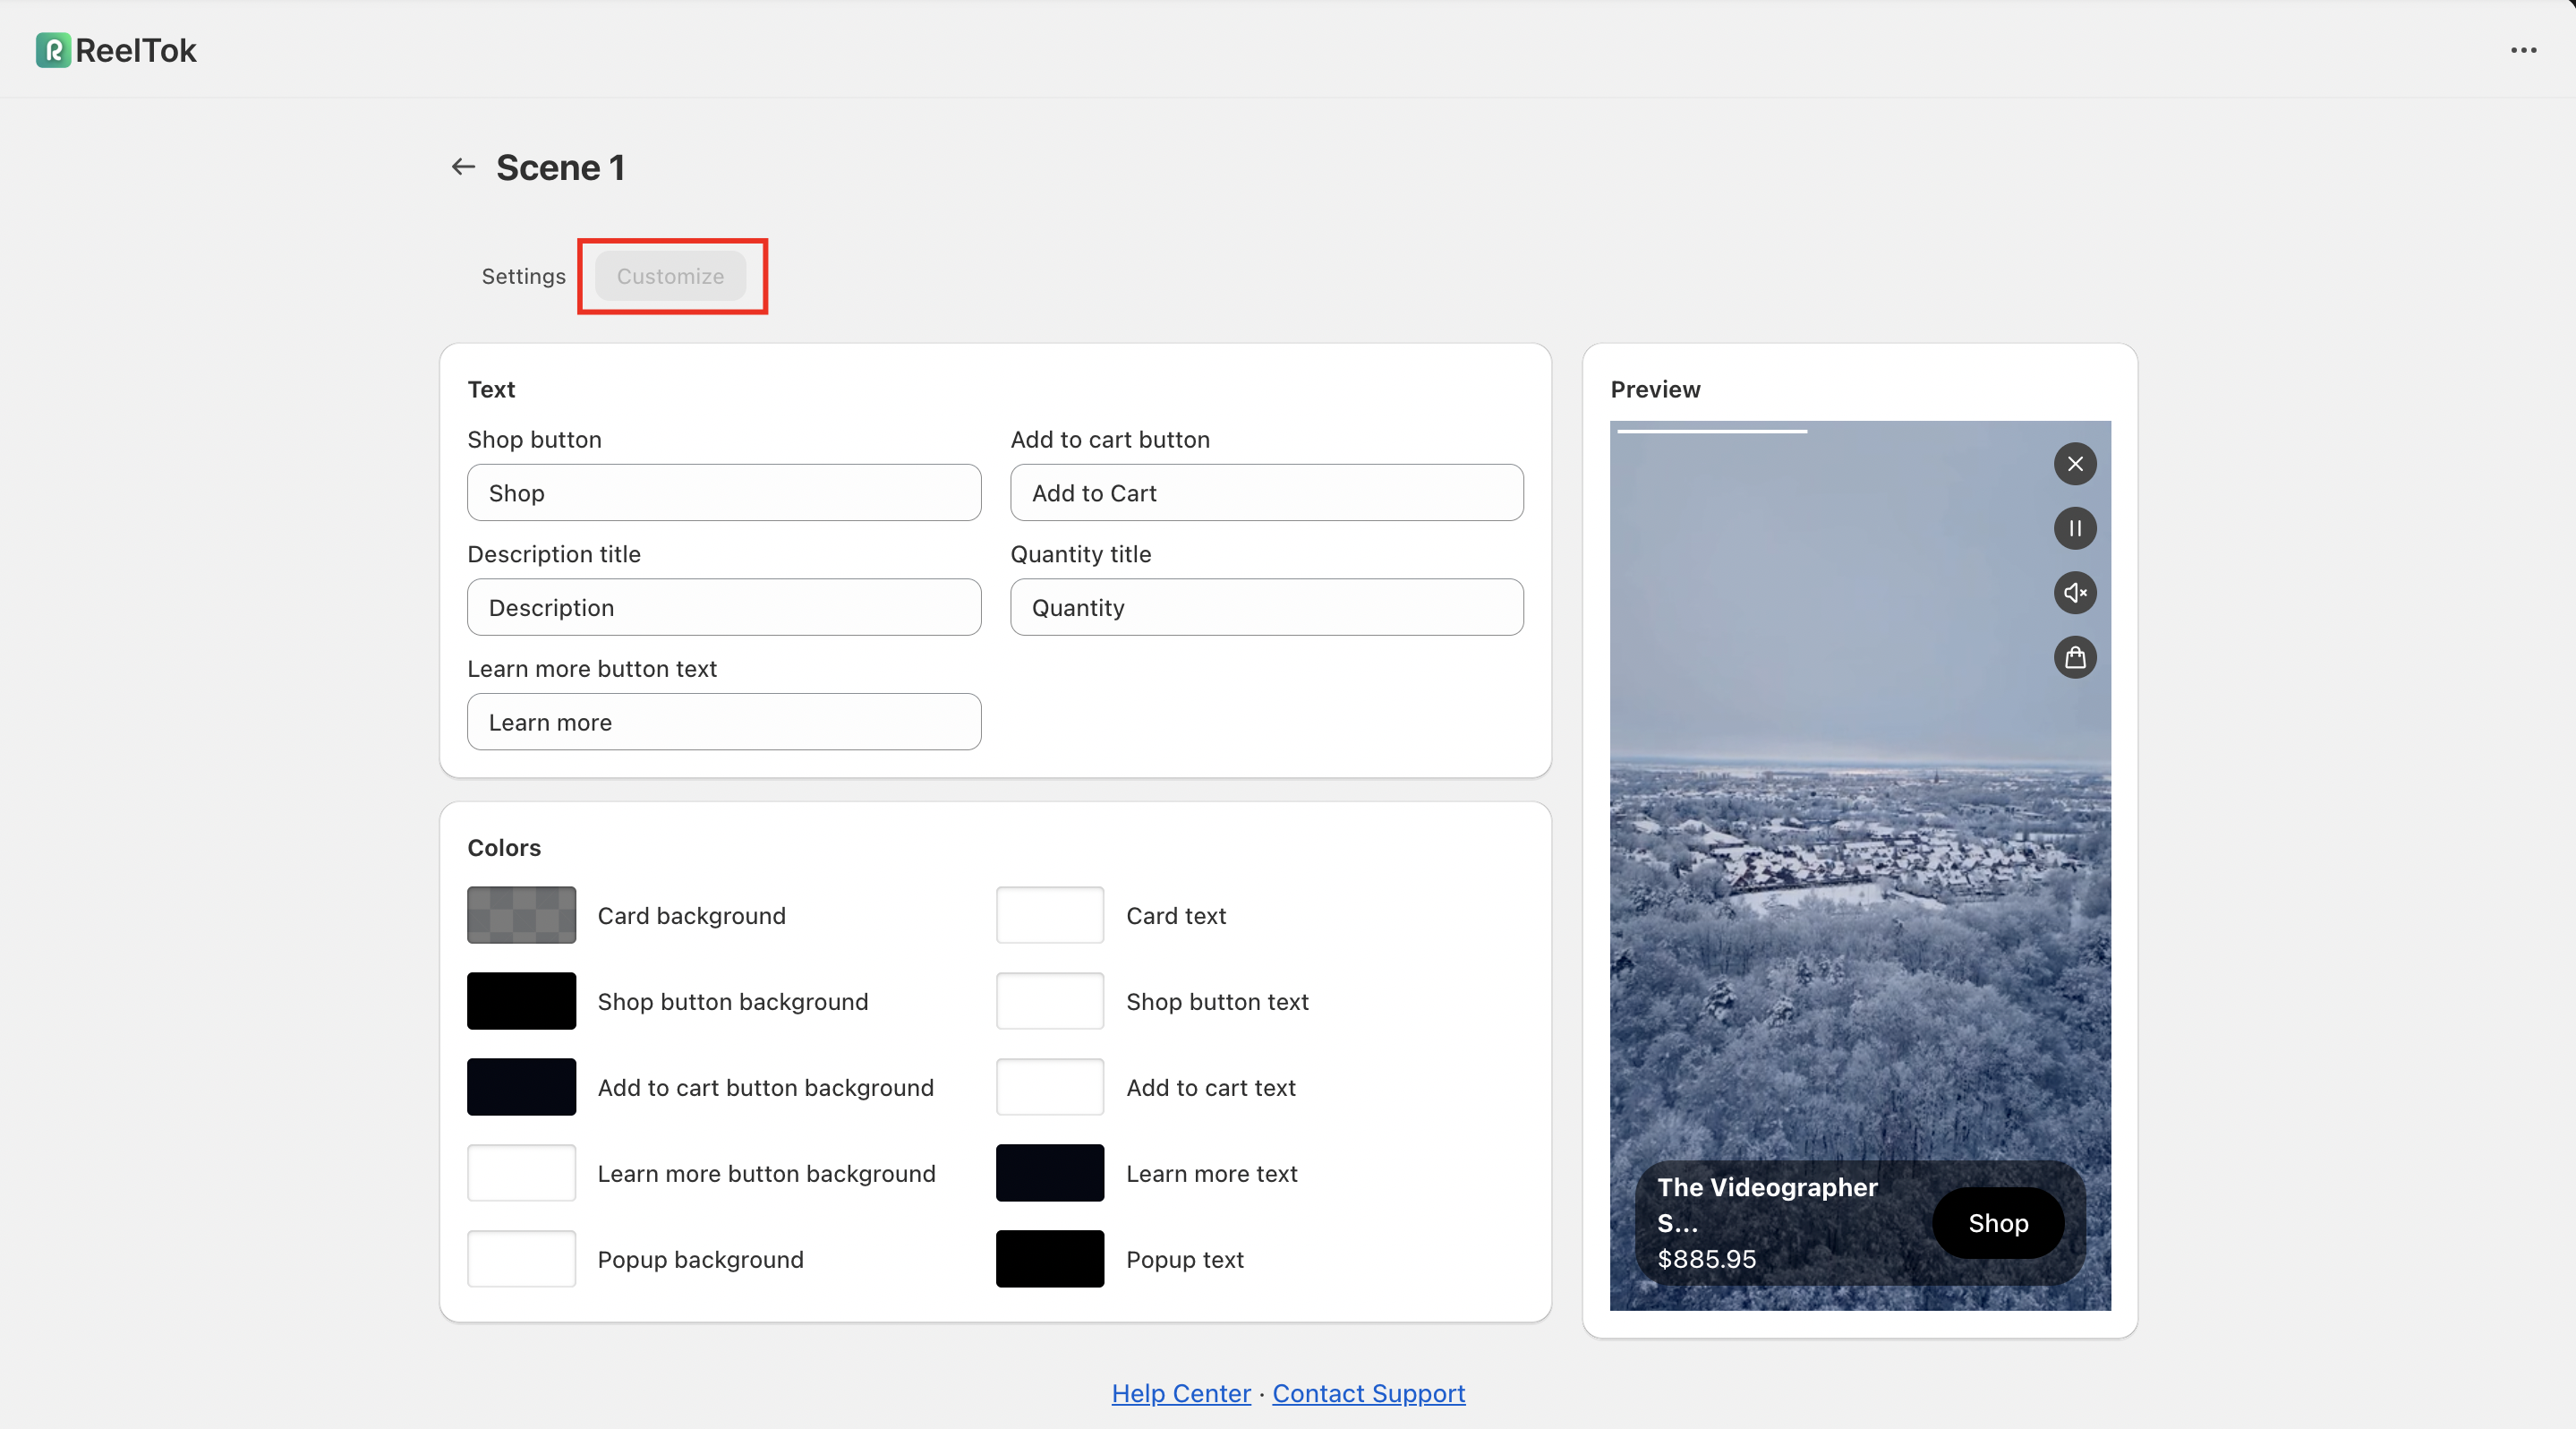
Step 4: Customize the Design
After saving your scene, look at the tabs at the top of the page. Switch from "Setup" to Customize. Here you can adjust the look of the widget to match your brand:
Text: Rename labels like "Shop Now" or "Add to Cart".
Colors: Use the color pickers to change the button backgrounds and text colors.
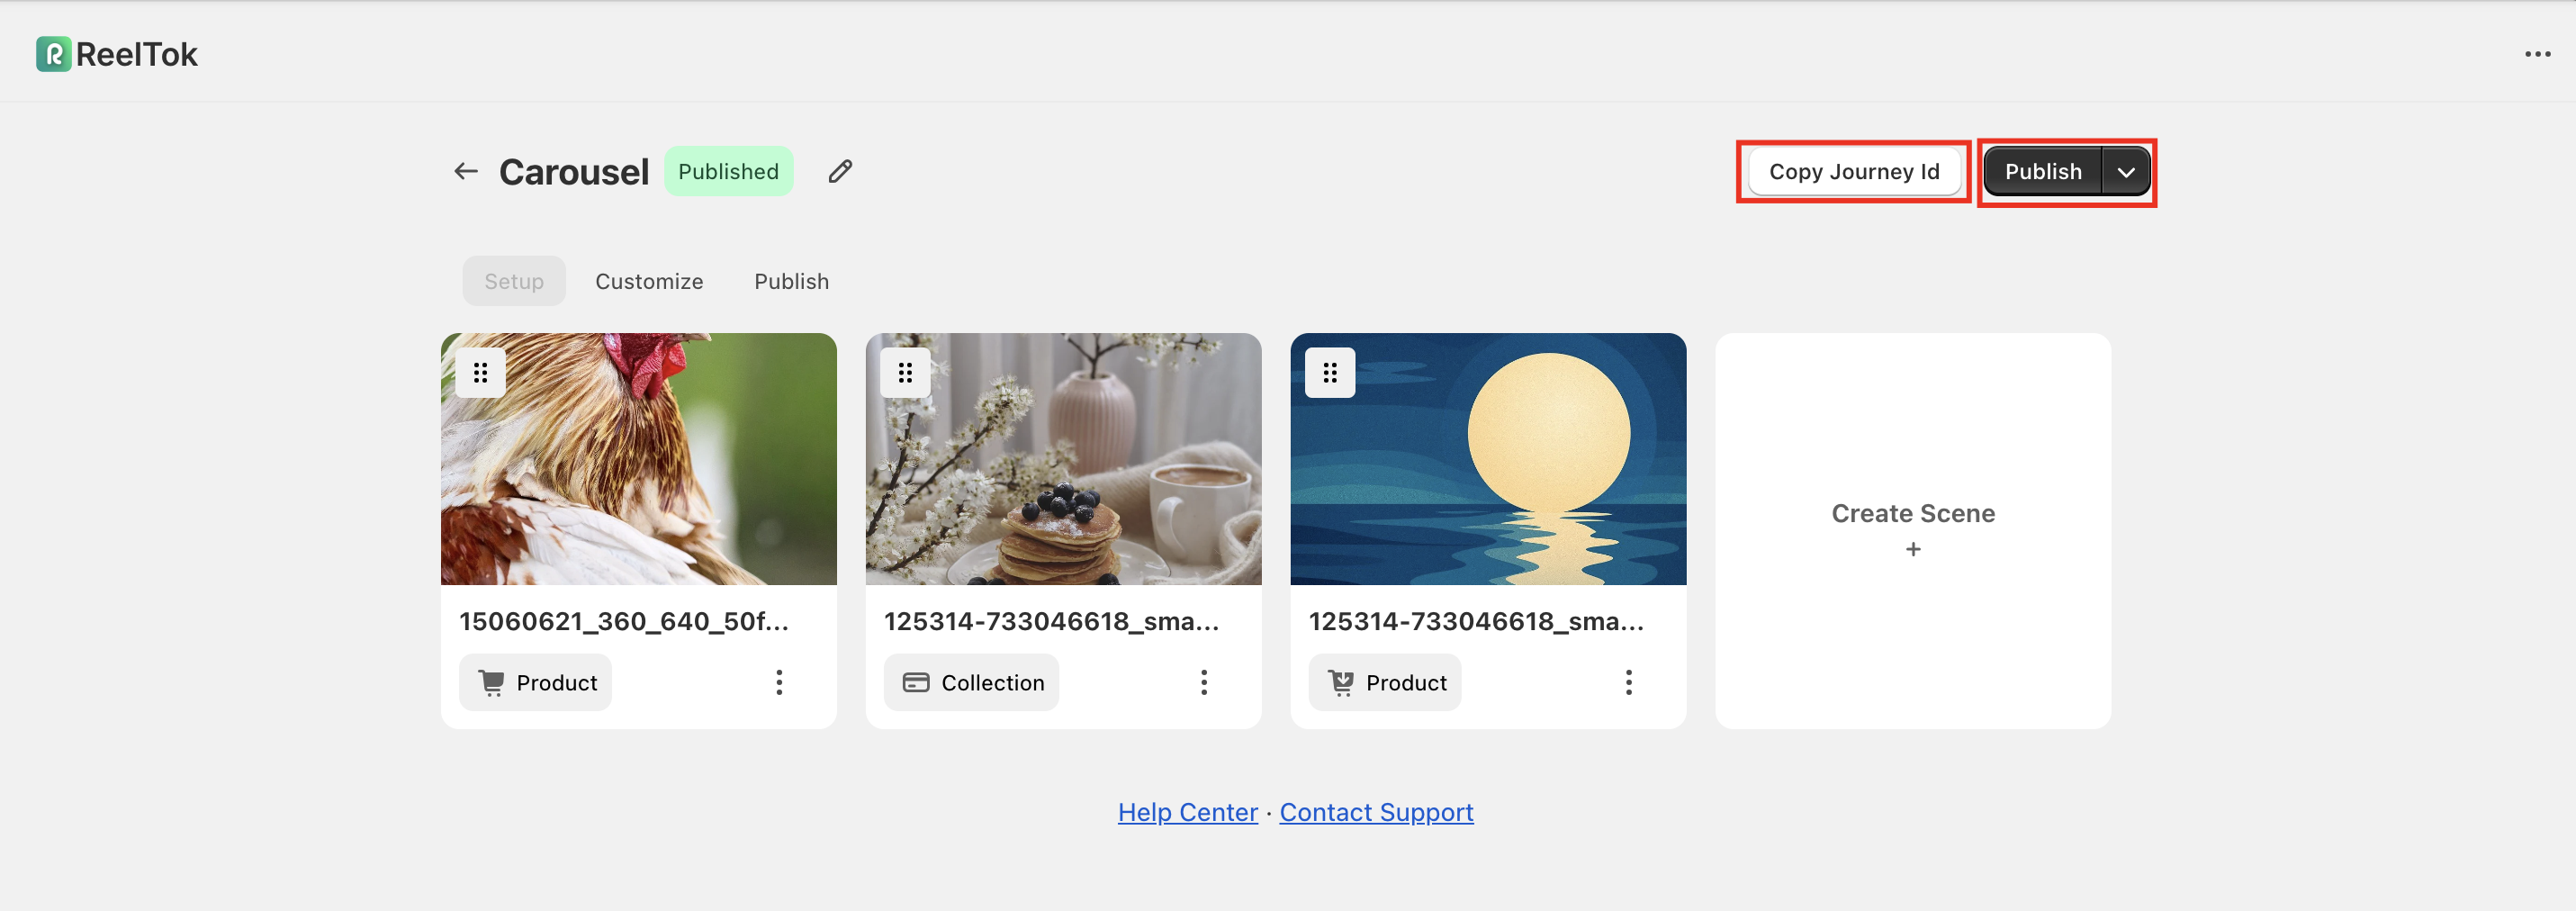
Step 5: Publish & Get Your ID
Click the Back Arrow (top left) to return to the main Journey overview.
Click the black Publish button in the top right corner to make the widget live.
Crucial Step: Click the Copy Journey ID button (located next to the Publish button). You will need to paste this ID into the ReelTok App Block inside your Shopify Theme Editor to make the video appear on your site.
For a visual walkthrough of this process, please check out our demo here: https://app.supademo.com/demo/cmkbezhi12ibike4xq2gx8vcm?utm_source=link